the PROCESS
|
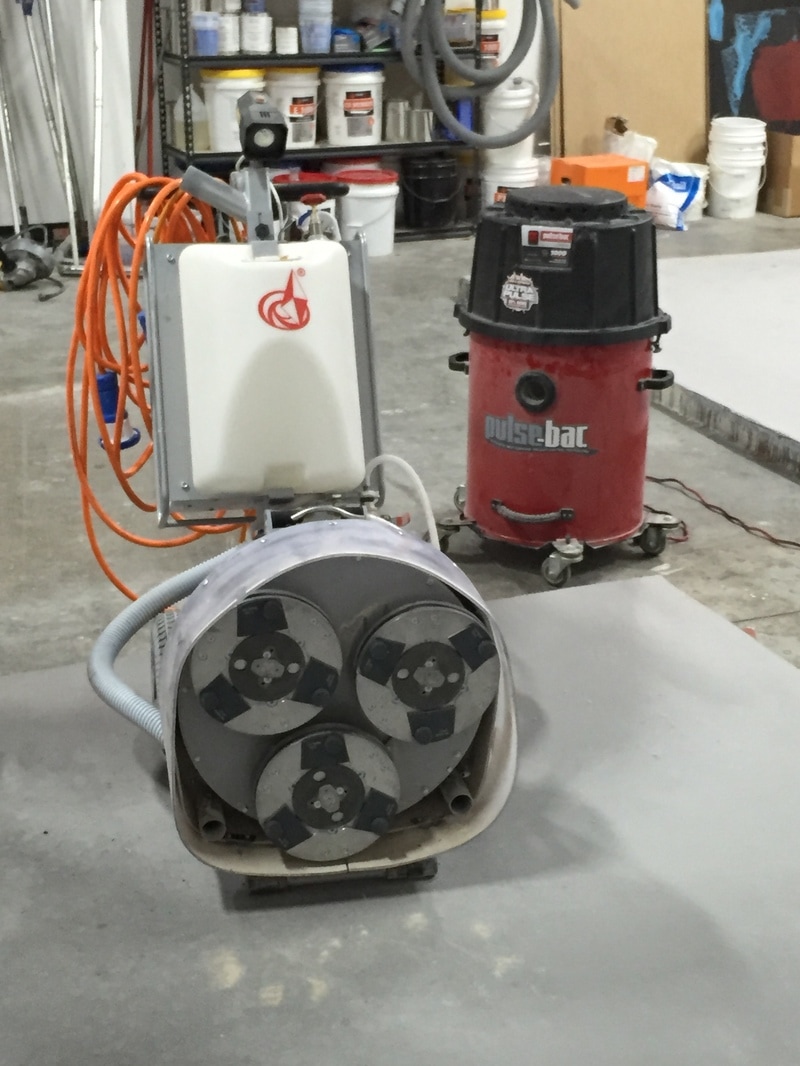
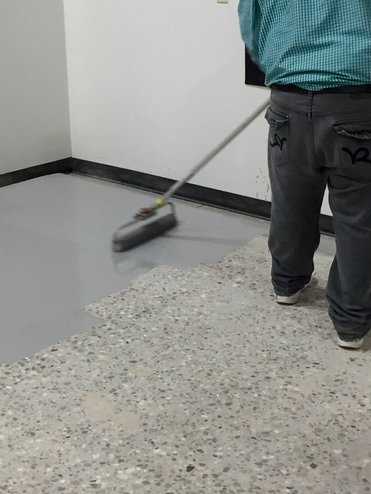
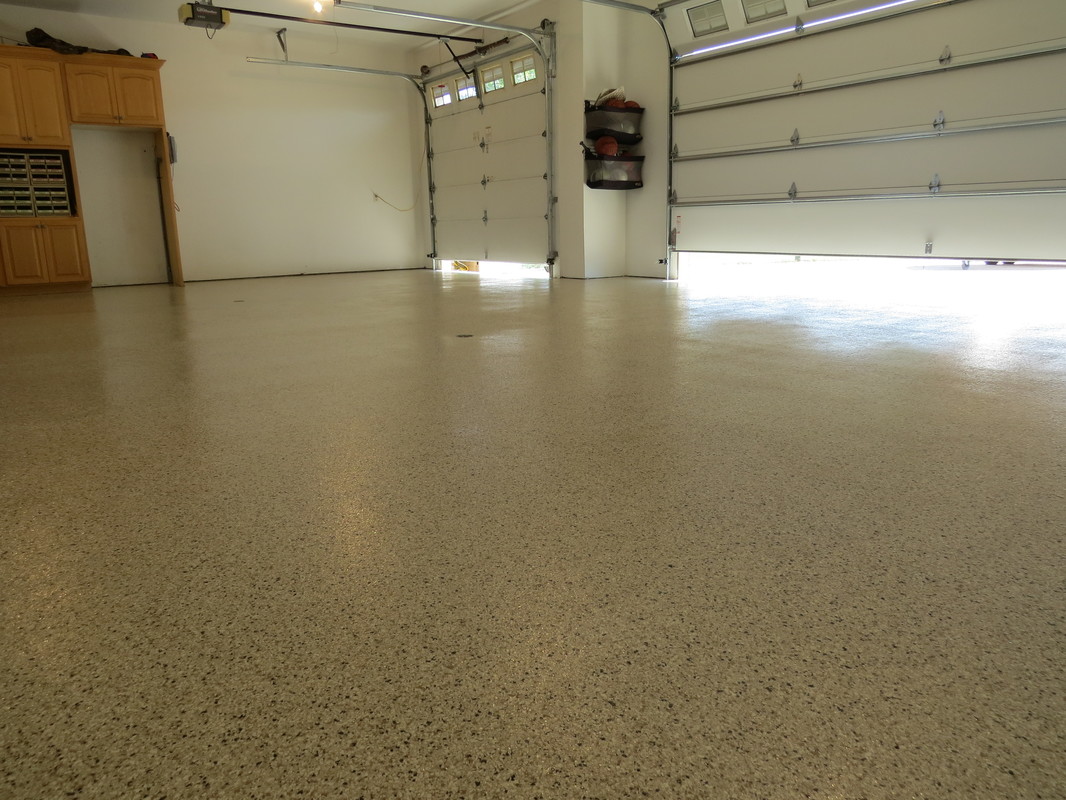
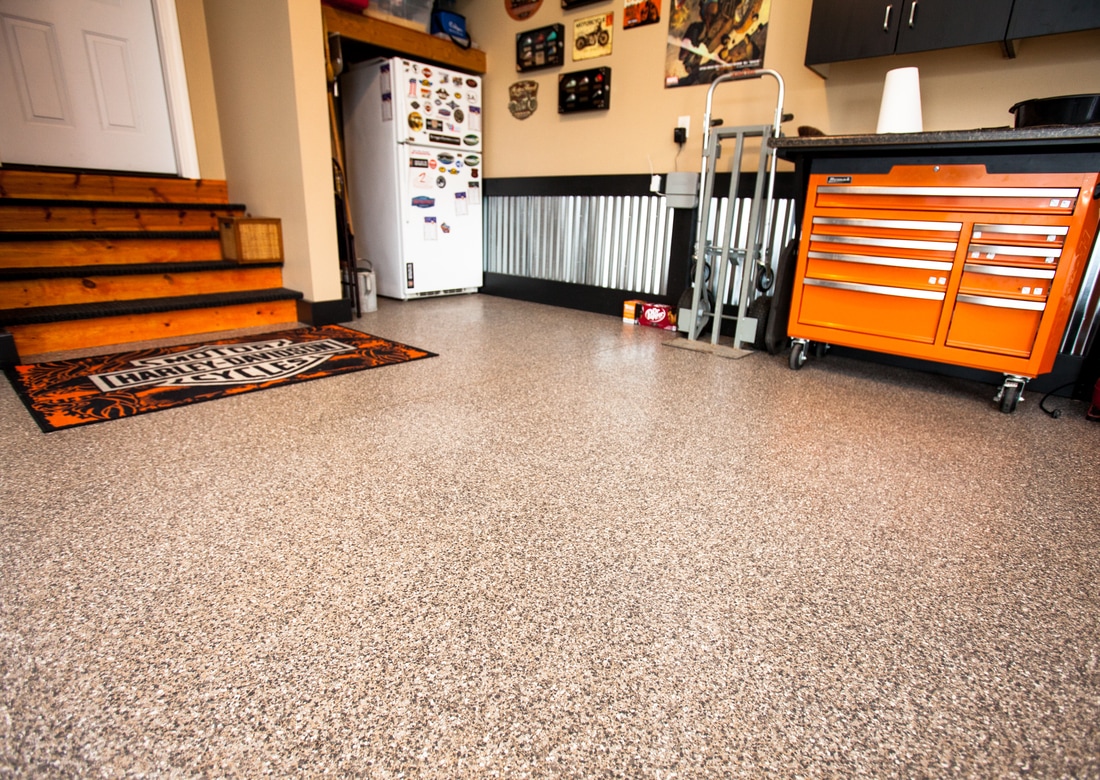
First we determine the type of concrete you have depending on its Moisture Content, Structural Condition and Hardness. Then the concrete is grinded for greatest adhesion. Our diamond grinders consist of eight rotating heads. By varying the grits and bonds used, diamond grinders can be effective on differing concrete types. Diamond grinders are especially helpful when cracks or joints are at different profiles and need to be leveled. During the grinding process, our dust collector removes pulverized abrasives, dust, and contaminants, leaving very little residue behind. The cracks, pits and spalling get repaired. Our fully restored cracks in the concrete will be flush with the surrounding surface. Pits and spalled areas will then be filled using our mender material. After reconstruction, the area will be flush with the surrounding area. The repair process is followed by vacuuming the floor and using a leaf blower to flush out remaining debris. The floor is then coated. We start by mixing a small amount of our base coat, a self-priming pure polyurea, which is used to cut in all the edges around the floor and cover the prepared concrete surface. The base coat is applied using a technique using a roller, to ensure the product is evenly distributed. We repeat the rolling process until the whole surface is covered completely. When the floor is coated completely with the base coat, if we are doing a flake floor, we broadcast the flake into the wet coating by hand, covering the whole floor with the flakes. By using mass quantities of flakes, we ensure that the floor is completely covered, leaving it uniform in color and texture. Once our basecoat is fully cured we “scrape” down the flake. With metal blade scrapers we walk along the floor surface putting pressure on the blade to “cut” and “scrape” any loose or vertically standing flakes. After our floor is prepped, coated, flaked, scraped, and vacuumed, we can start our final step — the application of the clear coat. We start by clear coating all of the vertical surfaces and then brushing the perimeter of the floor itself. The clear coat is distributed across the floor through a technique of rolling and squeegeeing. This ensures that no unsightly lines will be left upon completion of the project. After only 4 to 6 hours of drying you can confidently walk on your new coating and after 24 hours you can park and drive on the coating. We know you will fully enjoy your new floor and the piece of mind knowing it comes with a 15 year Warranty. |
|
